
What is Google Search Console?
Google Search Console is a free tool from Google that helps you monitor and maintain your website’s presence in Google Search results. It provides valuable insights into how your site is performing in search results, including: Search traffic, Search queries, Click-through rates

Why Connect Google Search Console to Power BI?
Google Search Console provides valuable data about how your website performs in search results. By connecting it to Power BI, you can:
- Visualize Data: Create charts and graphs to understand trends and patterns.
- Combine Data Sources: Integrate with other data like Google Analytics for a complete picture.
- Share Insights: Easily share reports with your team.
Steps to Connect Google Search Console to Power BI
Step 1: Export Data from Google Search Console
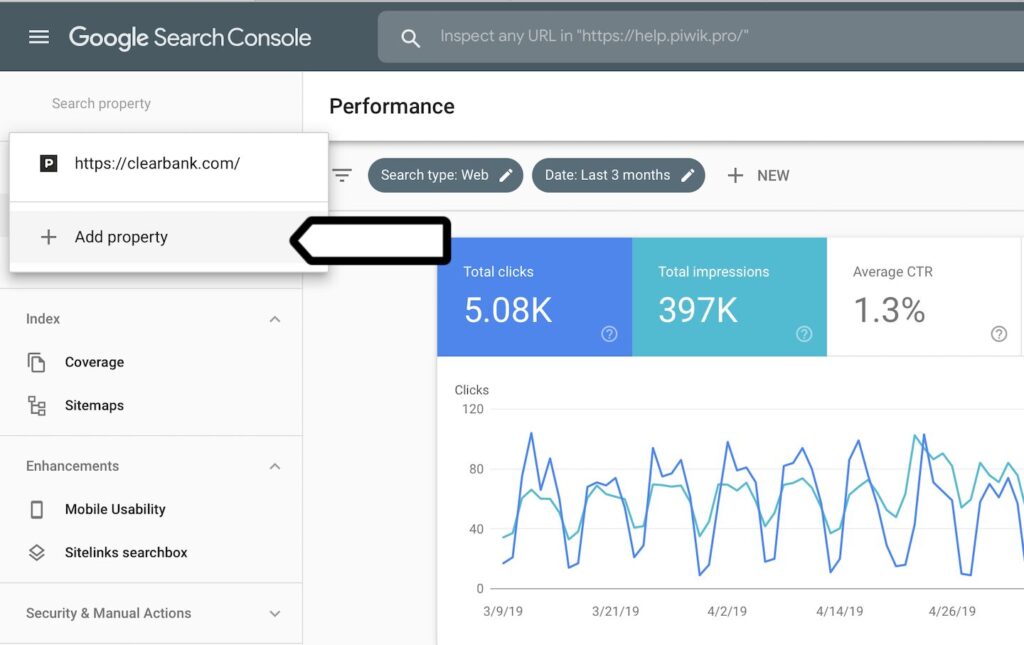
- Sign in to Google Search Console: Go to Google Search Console and sign in with your Google account.
- Select Your Property: Choose the website property you want to analyze.
- Go to Performance Report: Click on “Performance” in the left-hand menu.
- Set Your Date Range: Choose the date range for the data you want to export.
- Download the Data: Click the download icon and save the file (CSV or Excel) to your computer.

Step 2: Set Up Power BI
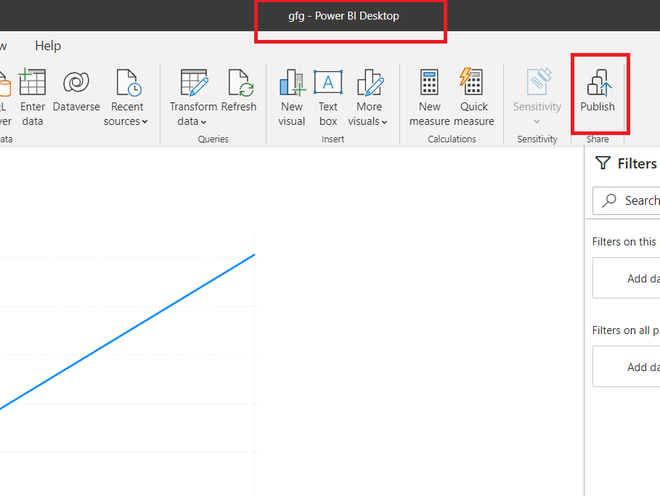
Download and Install Power BI Desktop. Get your Power BI Desktop from the Microsoft website.
To open Power BI Desktop, launch it and open a new report.
Import Data:
- Click “Home” in the top menu.
- Select “Get Data,” then choose “Text/CSV” or “Excel” depending on your file format.
- Locate and open the file you downloaded from Google Search Console.
Step 3: Transform and Visualize Your Data
- Load the Data: Click “Load” to bring the data into Power BI.
- Transform Data: Use Power Query Editor to clean and format your data if needed.
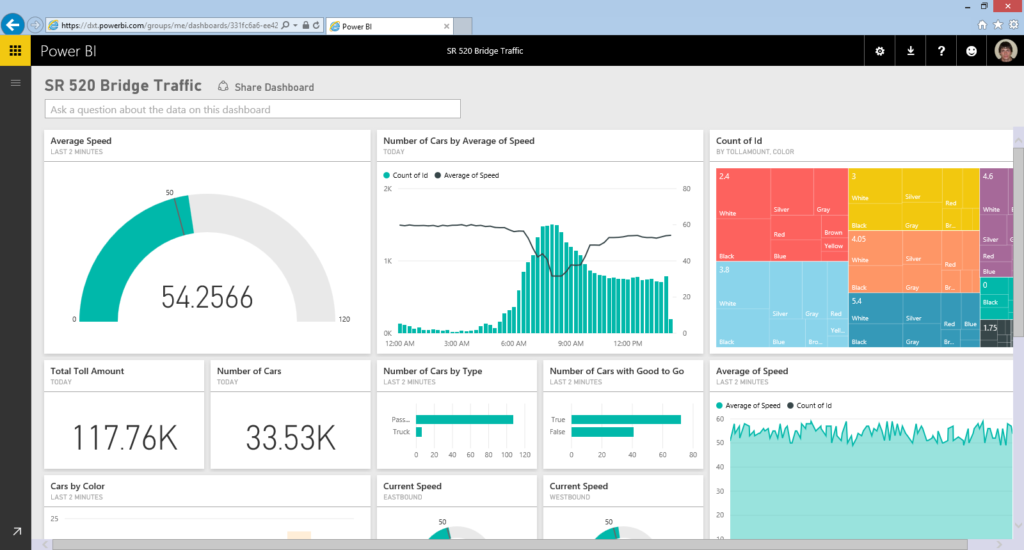
- Create Visualizations: Use the interface to create charts, graphs, and other visualizations. Drag and drop fields into the report canvas.
- Build Dashboards: Combine visualizations into a dashboard and customize it with filters and interactive elements.
Step 4: Publish and Share Your Reports
- Publish to Power BI Service: Click “Publish” in Power BI Desktop and choose a workspace.
- Share Your Reports: In Power BI Service, share reports with others and set up scheduled refreshes to keep data updated.
- Go to Performance Report: Click on “Performance” in the left-hand menu.
- Set Your Date Range: Choose the date range for the data you want to export.
- Download the Data: Click the download icon and save the file (CSV or Excel) to your computer.
Tips for Effective Reporting
- Combine Data Sources: Integrate data from other sources like Google Analytics and social media for a comprehensive view.
- Use Filters: Apply filters to focus on specific time periods, devices, or geographic locations.
- Create Custom Metrics: Develop custom metrics and calculated fields for deeper insights.
- Share Insights: Share your Power BI reports with your team to ensure everyone has access to the latest data and insights.
Conclusion
Connecting Google Search Console to Power BI allows you to visualize and analyze your website's performance data in a powerful way. By following the steps outlined above, you can easily integrate these platforms and create insightful reports. Start leveraging the power of Power BI to get deeper insights into your website’s performance today!